

1. Place the
sewing pattern on the felt and use some pins to attach it.
You need
2 pieces for each sock, so it is recommended to cut both at the same time
placing another piece of felt (or the same one folded) underneath.
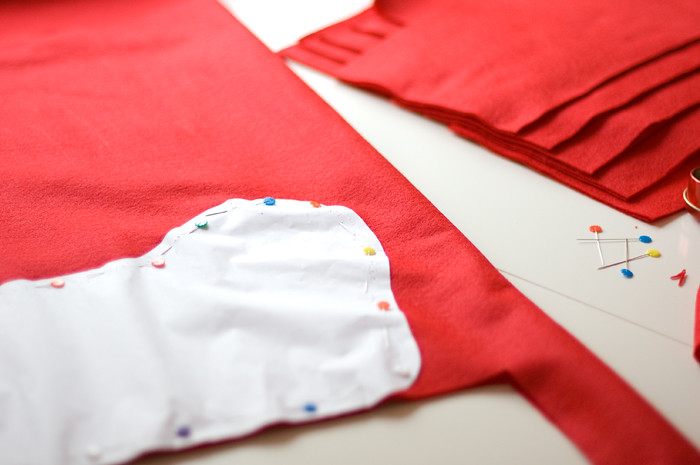
Don’t forget to save a small strip of felt for the hook and to cut carefully.
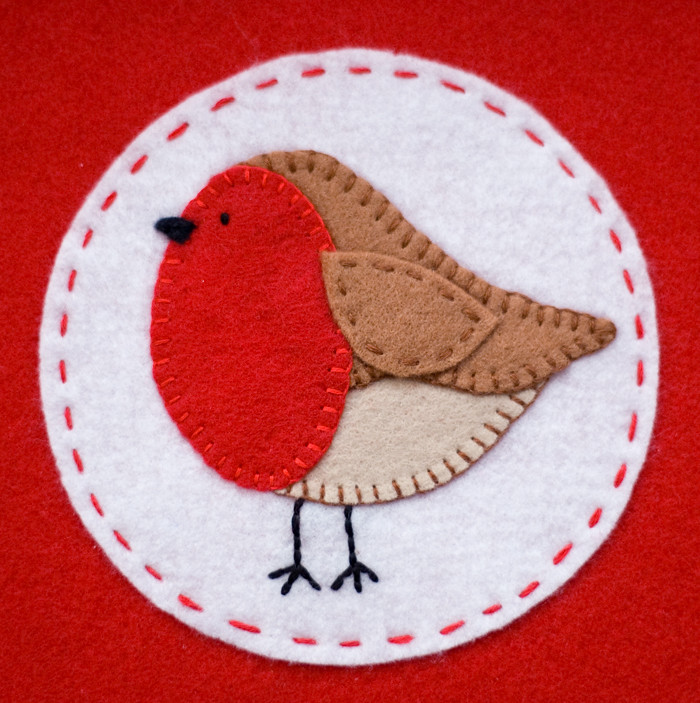
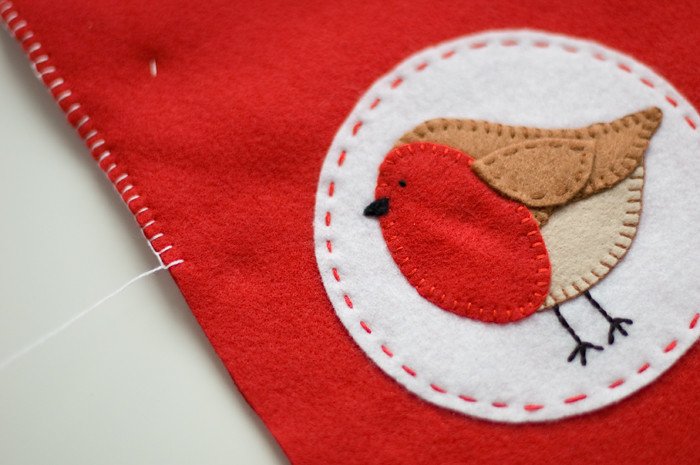
2. Now it is
time to decorate the sock. Take into account that only the facing and front part
of the sock should be decorated. The back part will not be seen.
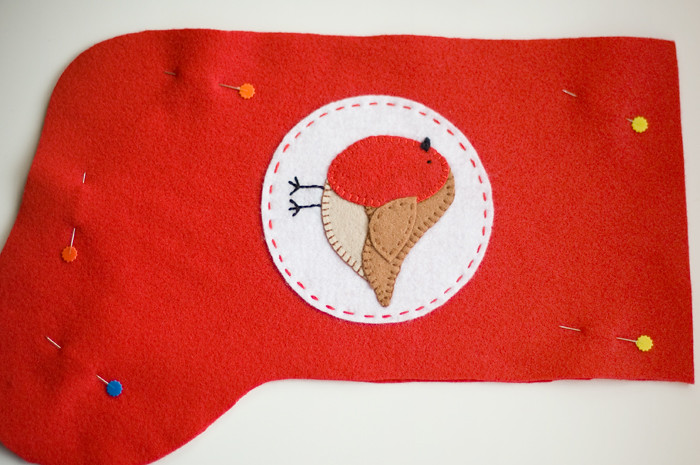
It does
not matter which is the orientation of the sock (right or left). Just let your
creativity fly.
You can
use buttons, any kind of decorations, pom poms or even make new decorations
with the felt. If you
want to sew felt decorations, you can use the running stitch. Pass the needle
in and out of the fabric, making the surface stitches of equal length
Check for
ideas in our inspirational board on Pinterest. We also have a flickr group called "Christmas stockings for little stars", where you will find images of the stockings that were delivered in previous years.
3. Now it is time to sew the 2 parts together.
The stitch used is called blanket stitch and the idea is that the space between the stitches is the same as the stitch itself.
Let’s explain it step by step.

First join both pieces, so they match perfectly.
Fix them with some pins, but remember not
to put the pins near the edge, because it is exactly there were we are
planning to sew.
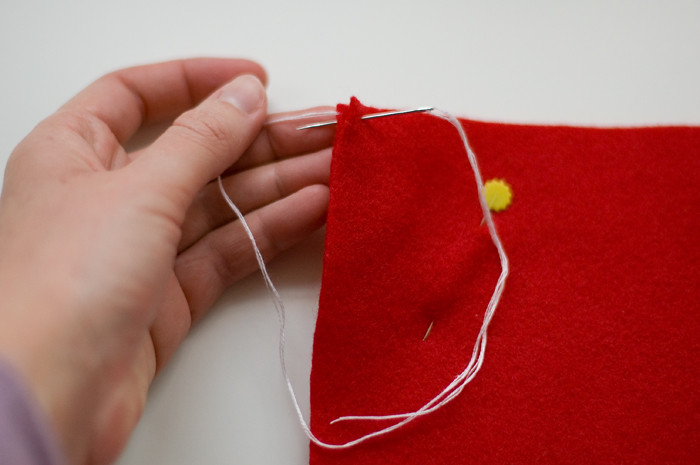
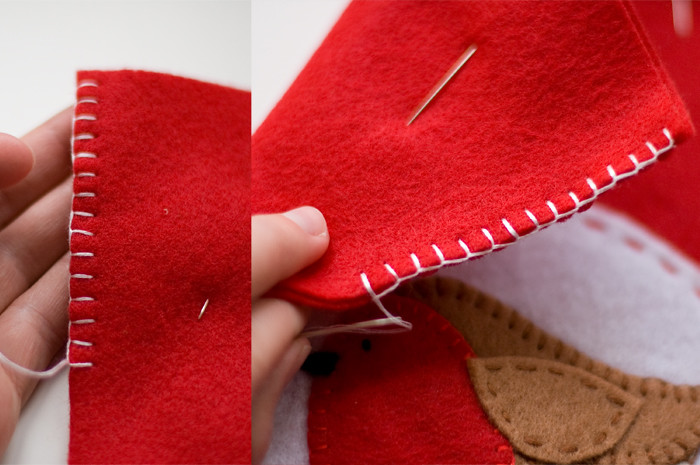
We will start by sewing from the left upper part of the stocking. In the example I used DMC embroidery thread, but any other embroidery thread can be used. Usually it comes with six threads and only three are used here.
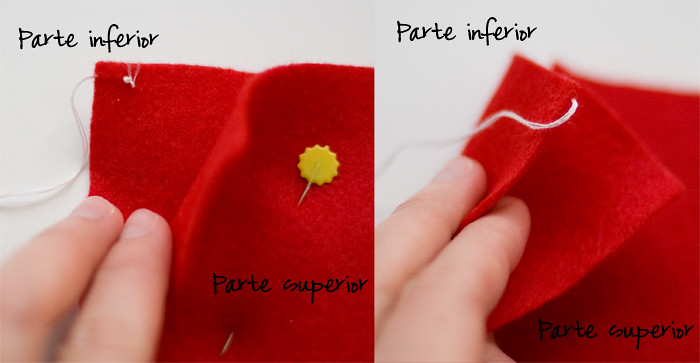
Make a knot to the end of your thread, open a bit the left upper corner of the stocking and take out the needle through the felt (image above - left). The thread has to come out from the middle of the felt (image above - right), as we do not want the knot to be seen from the outside.
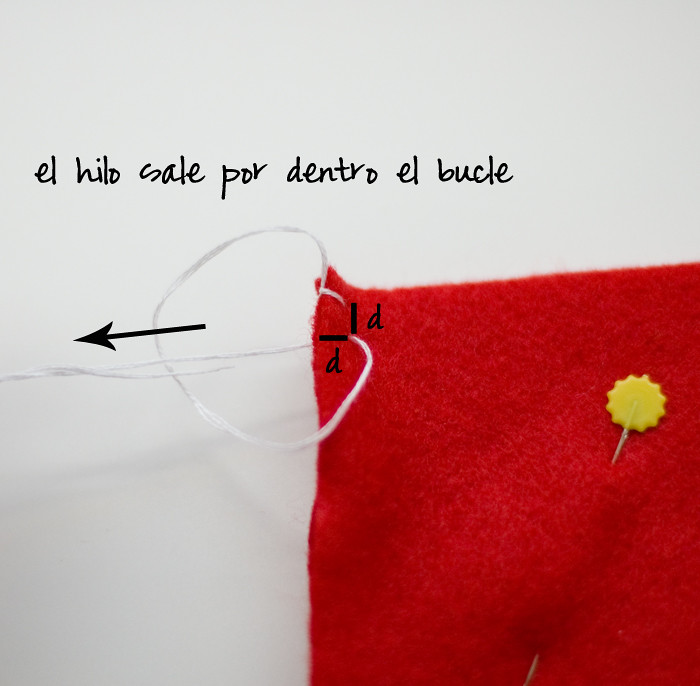
With both pieces together and from top to bottom, put the needle perpendicular to the fabric and sew across the 2 pieces of felt. Start more or less at the same place where the knot is and around half a centimeter from the edge.

You can choose the length of the stitch, but try to make them all similar around the stocking.
Have you noticed that the thread
makes a kind of loop? The secret of this stitch is to always take out the
needle through the inner part of the loop. (See image above)
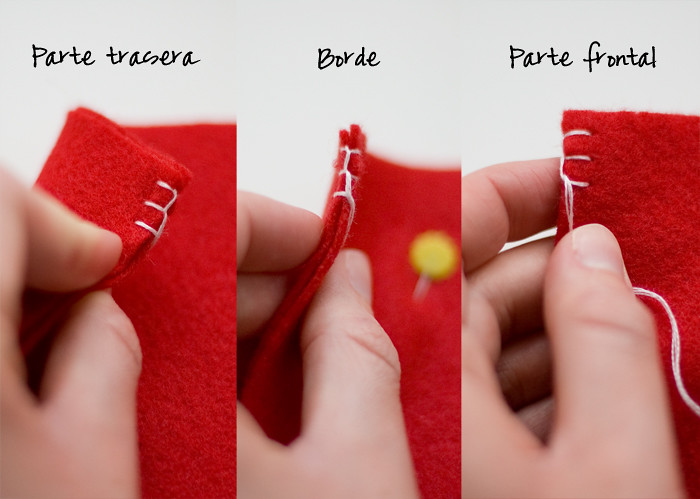
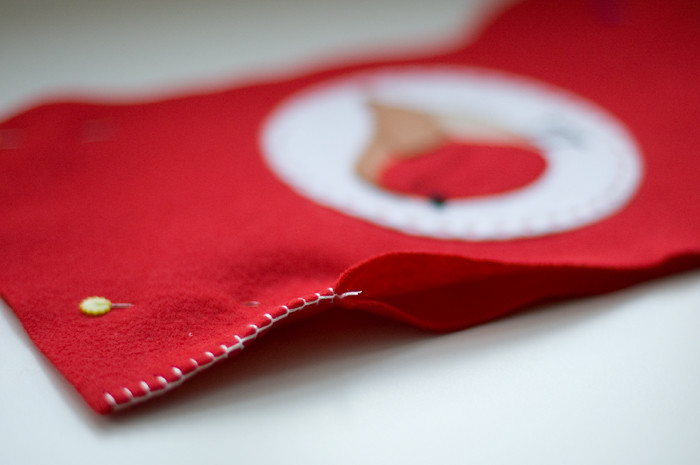
This is how the stitch looks like when it is
finished.The following stitch is exactly the
same.
Don’t make
it too tight! Just stick both pieces together but without wrinkling the felt.
When the thread arrives to its end,
open the 2 pieces of felt and make a knot inside the fabric. You can make a
pair of stitches superficially in the felt (without crossing to the other side). After making a knot, cut the thread. The small piece of the
thread will be hidden inside the sock.

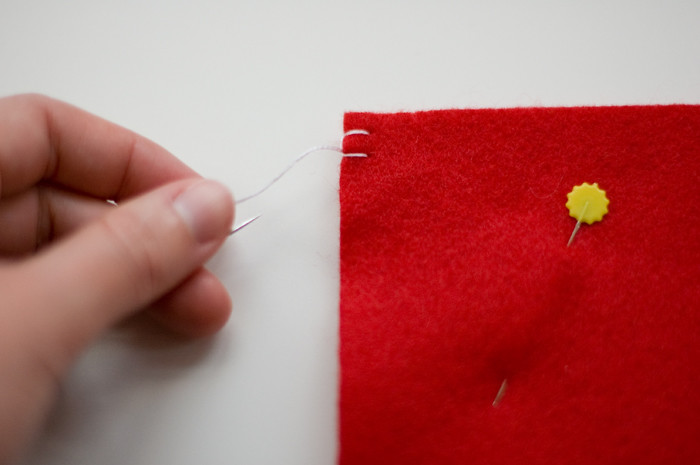
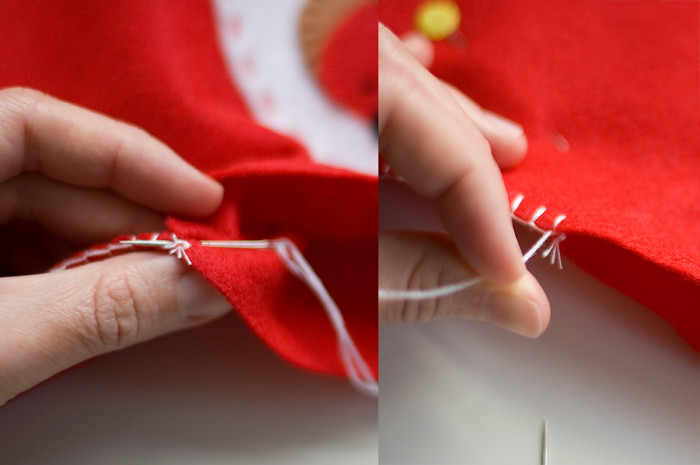
Put thread in the needle again, make
a knot at the end and put it across the interior part of the sock, without
crossing the felt. (Image below - Left) The needle should go out where the following
stitch should have started. (Image below - Right)
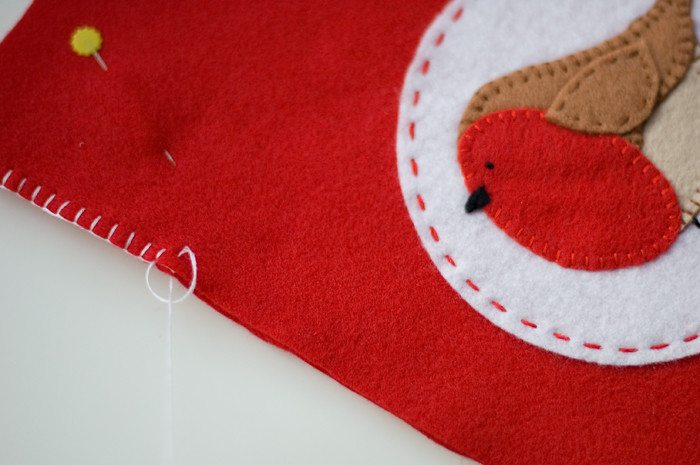
Continue doing stitches all around until the
stocking is ready. Remember that the needle always goes out within the loop. If you hold the loop with your left hand it will be easier.
Translated by Conchi Garcia.
No comments:
Post a Comment